Lorem ipsum dolor sit amet consectetur
Metus dictum at tempor commodo ullamcorper a lacus. Volutpat blandit aliquam etiam erat velit scelerisque in dictum. Tortor vitae purus faucibus ornare. Dignissim

How To Paint Shiplap?

Choosing the Right Paint for Shiplap

Selecting the appropriate paints is important for any project. Choosing the right paints is much more important than finding a preferable color—you need to consider the type and quality, to ensure a long-lasting and professional-looking finish. High-quality water-based latex paints with satin or semi-gloss finishes provide a subtle sheen that compliments the shiplap’s texture. Plus, these paints offer durability, beauty, and easy cleaning.

Can you choose whatever color you want? Of course. Choose the paint color that suits your interior painting design scheme, whether you’re considering a coastal vibe or that modern farmhouse look.

Tools and Materials Needed

You need to gather all the necessary tools to achieve a beautiful shiplap finish. As with preparing all the right ingredients for your favorite recipe, you mustn’t start until you have everything on hand. 

A few tools & materials to gather before painting shiplap:

  • Drop cloths to protect your floor from paint splatters.
  • Sandpaper for prepping real wood shiplap.
  • High-quality rollers and brushes.
  • Roller trays for holding paint (buy more than one of these).

By properly preparing for your project you can avoid a lot of frustrations that might arise. When sanding real wood shiplap, 120-grit sandpaper helps create a smooth surface that’s easier for painting. High-quality rollers will help save time, but you’ll also want small brushes for tight areas and better precision. Extra rolling trays ensure you don’t have to prematurely pause your project to return to the store for more materials. Making these considerations before you begin your project will make your painting experience much easier!

Utilizing shiplap in housing renovations and interior design is a fast-growing trend. Why? It’s low-cost, reasonably easy to install, and highlights a single architectural element like an accent wall or structure beam covering.The easiest way to give your shiplap a new look is by painting it. But do you know how to paint shiplap walls?

Painting shiplap is not difficult. By following the procedure for painting shiplap below, it can be a piece of cake.

How To Paint Shiplap: 3 Methods to Get it Right

As for picking paint colors, you may visit a paint store and select some paint samples to bring home to make your color selections manageable. You can choose whatever shiplap paint color you want. You may also consider your home’s architectural style, generation, and the visual effect you like. But if you’re going to play it safe, choose a white paint.

For best results on wood shiplap, use a water-based paint-and-primer in one.

What Type of Paint Finish To Use?

A question frequently raised is whether to use matte or semi-gloss on shiplap.

To complement your walls choose a flat finish or eggshell. As another option, you can match your trim – go with semi-gloss.

How To Paint Shiplap?

You can detach the shiplap to be painted. But this approach takes quite a lot of time and is likely to damage the load-bearing wall or the shiplap wall itself.

If your existing shiplap is still in an acceptable state, follow these steps to put some spark back into it.

Prepare The Room

Considering painting shiplap that’s already put up is the same as painting a typical wall, you’ll need to prep the room accordingly.

Clear as many fixtures, wall décor, and pieces of furniture near the wall as possible. Cover the floor and any objects that cannot be removed with a protective plastic sheet.

Use painter’s tape to cover the surfaces near the shiplap. It’s always better to be on the safe side and presume you’ll unintentionally spatter some paint and create a mess.

Shiplap Prep

Before you start painting, it’s imperative to prep the shiplap board. Many types of real shiplap boards come pre-primed, saving you time in this phase since you won’t need to prime!

You can start by ensuring none of your nail heads are sticking out of the boards. Next, use a putty knife to fill every nail hole, seam (between panels), and knot in the wood.

Take 100 to 150 grit sandpaper and sand the entirety so the grain is completely smooth. Then use a rag and vacuum to clean the dust off the shiplap.

Once everything is dust-free, check for noticeable shiplap cracks that must be sealed with caulking. Take your paintable caulk and fill in all the nail holes, cracks, and seams. You’ll need to remove any excess caulk with a rag. Let the caulk dry completely before painting the wall.

Painting Shiplap Walls

How To Paint Shiplap With Paint Brush and Paint Roller

Start with a small brush and paint shiplap grooves. Do this if you have real wood or faux shiplap boards with plywood. While this process is time-consuming and exhausting, you can still paint shiplap cracks with an artist’s paintbrush to make it less complicated to get into the narrow spaces.

Follow it up by rolling the first coat of paint to your shiplap wall—finally, the most thrilling step.

Next, inspect in-between all the boards for accumulated or pooled paint. If this does happen, use a small putty knife or paint scraper and gently run it over the spots to remove the excess paint.

Retouch the brushwork in between rolls if necessary, but finish with a second coat for a smooth finish.

How To Paint Shiplap With Paint Sprayer

The quickest way to paint the wall is to use a Paint Sprayer that is ideal for indoor projects and spray the installed shiplap wall.

The most challenging part of using this method is perfecting the technique. You need to make sure you can apply nice, even coverage for the walls.

Before you begin painting, wear a respirator mask, safety glasses, and disposable gloves.

Mix paint well and then strain it to prevent clogs. Then, fill your sprayer and you can get painting!

Dealing with Common Shiplap Painting Issues

Several common shiplap painting issues exist, such as paint gunking up the tongue and grooves between the boards. Here’s a tip to ensure a professional finish: run your putty knife along the board’s undersides after painting to remove any excess or pooling paint. Some painters choose to paint their shiplap boards outside, but as with all exterior painting, there are pros and cons, such as having to set up a painting area, wait for the boards to dry, and then reinstall them indoors.

If you notice uneven streaks, a second coat of paint might be required. For gaps and holes, use paintable caulk to patch any unsightly marks and then sand them down, add primer, and paint over them. You can use this same tip for nail holes and uneven pieces of shiplap, especially in tight corners where the pieces don’t fit quite straight. Proper techniques, even strokes, and small brushes can all help you paint shiplap grooves and attain a smooth finish, then blend it with your paint roller. 

DIY Shiplap VS. Hiring A Professional

If you’re not confident doing a DIY shiplap job, consider calling Proserv Painters to ensure that your shiplap’s wall prep, primer, and topcoat paint look amazing. We can always help you save time accomplishing this painting project and get the desired results. Call 781-821-1750 today to schedule a free estimate!
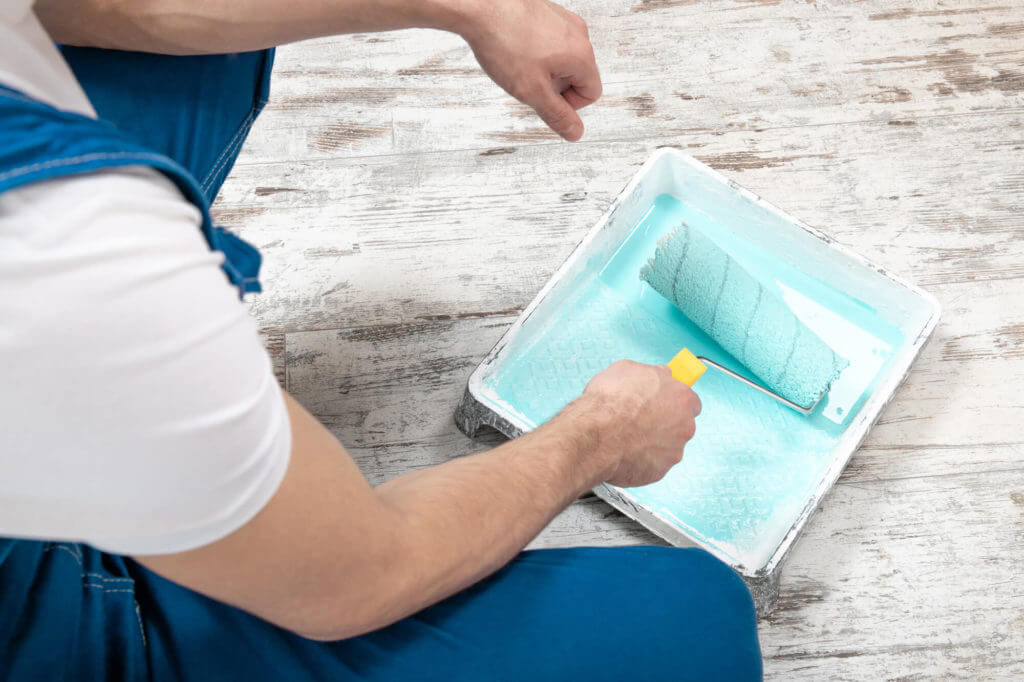
Professional painter coating roller with blue paint

Call Our Team for a Free, No-Obligation Price Quote

Serving homeowners with excellence is our privilege. Our team of house painters are excited to help you rediscover the power of color and professional paint in transforming your home’s appearance! We’ll work around your schedule and ensure that you stay informed.

For more information or to receive your free estimate call ProServ Painters at (804) 214-7811 today!

Schedule a Free Estimate