How To Clean Walls Before Painting?
Painting can sometimes be hard and frustrating when you are unsure where to start, but it doesn’t have to be. Follow these tips and tricks for an amazing paint job.
1. Make A Plan
Before you begin any painting project you must first plan where you want to paint; interior walls, kitchen walls, bathroom walls, and exterior walls all require different types of paint for a good finish for your paint project. Choosing new paint can often be frustrating. If you’re not sure which paint to use it’s best to ask professional painters or do some market research to figure out which paint best suits your paint job. Our trusted network of painting experts and consultants are available for a free quote if you want to proceed with professional painting. Once the paint has been chosen it’s time to begin preparing the area and walls.
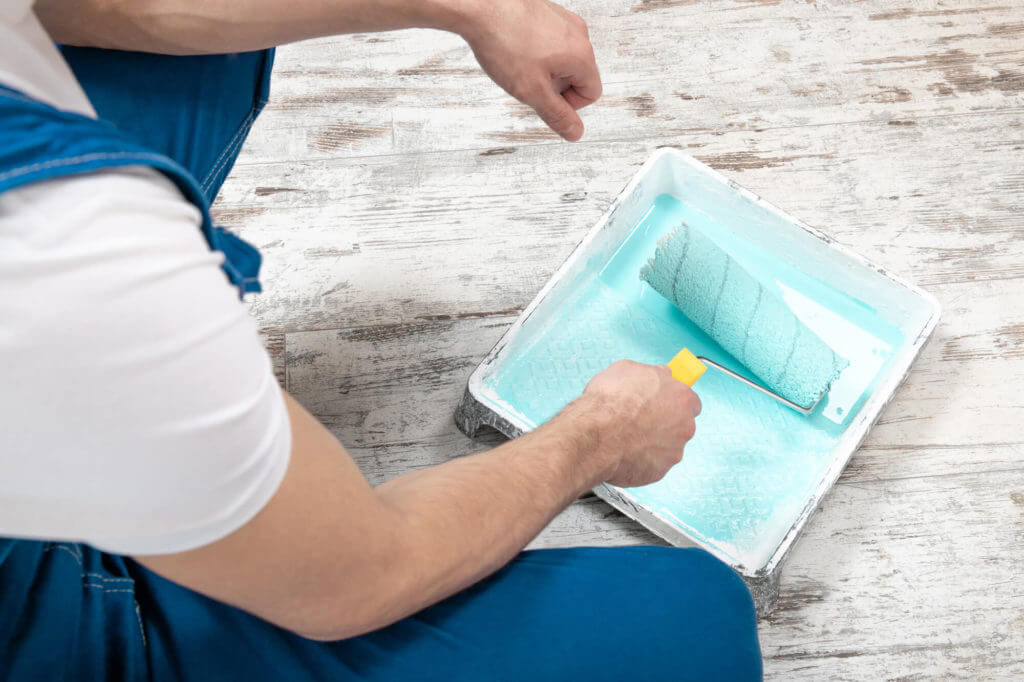
2. Prep Work
To prep walls, it’s key to first make sure they’re clean and that your area is well ventilated and protected. To protect your area, tape your trim, baseboards, and anything fixed to the wall with painter’s tape and lay down drop cloths to catch any mess accumulated during the cleaning and painting process.
3. Examine Your Walls For Mildew or Mold
Once your space is protected it’s important to examine your walls before painting for any sign of mold, mildew, or stains. If your walls have mold, mildew, or stains, your paint will not adhere properly which can pose a health risk. When cleaning the mold, mildew or stains, make sure you’re wearing rubber gloves to not contaminate your skin. Once protected, treat the area using a clean cloth with a solution of one part bleach three parts water or trisodium phosphate. After your walls are clean of any mold or stains, wipe the solution off your walls with clean water and a cloth. If the stains don’t come off right away, don’t panic. Scrubbing and washing the walls excessively can damage them. After washing the spots, leave them to sit for a couple of hours as they should have faded significantly in that time.
4. Even Surfaces Make the Best Canvas
To maintain an even finish, check your walls for any loose paint, rough spots, or excessive dust. If you’re working on exterior walls it’s important to note that there might be more dirt, dust, or grime. To remove these spots, use a sanding block and sand lightly with fine-grit sandpaper of 100-150 grit. Most walls can be quite dusty after this step so once sanding is complete wipe down the walls with a damp cloth to remove any dust.
5. Washing Walls Before Painting
After preparing your space and making sure the walls are smooth it’s time to wash your walls free of grime. Prepare a mixture of lukewarm water, 1 TBS dish soap (which can be substituted for mild soap, or grease-cutting detergent), and baking soda. Once the solution is prepared, take a cloth or sponge and submerge it in soapy water. Once it’s fully saturated squeeze out most of the water. Wash walls with the damp sponge (slightly damp cellulose sponge) or cloth in a circular motion to remove grime. Make sure to rinse your cleaning tool with warm water every so often to keep it from spreading dirt or grime. When you wash your walls before painting it’s important to make sure that your wall is in good shape through the process. If you scrub too hard or use too much water, your wall will begin to feel spongy, soft to the touch, or you see old paint coming off on your cleaning tool. Stop and let your wall dry completely before continuing.
Once your wall is washed and dry, run your hand over the surface to check for a residual cleaning agent. If the wall is tacky to the touch, repeat the step above until you have a smooth surface. It’s important to make sure the walls are free of any residue or the paint will not adhere properly.
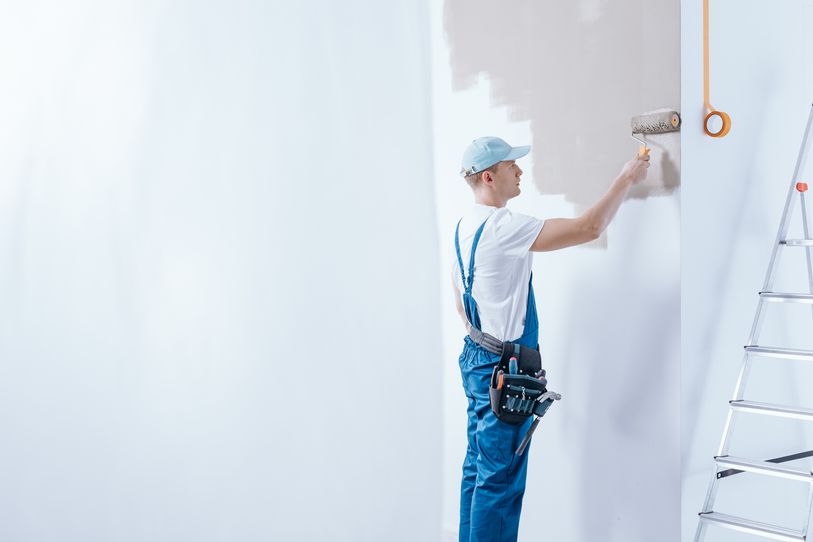
Ready For A Fresh Coat of Paint?
Once your walls are clean and dry, inspect the room you’ll be painting one last time. Are the walls clean, dry, and prepped? If so, it’s time to start painting your latest inspiration!
Cleaning walls and painting prep is often 80% of the work but can be so rewarding when your new paint adheres nicely to your walls and your room looks like they’ve been painted by a professional painter!

Need Help With Drywall Repairs & Painting?
If you’re wondering how to fix drywall seams after painting your walls or have had trouble hiding seams and tape in the past and don’t feel like tackling it alone this time, give our professional team of contractors a call today. Located in Canton, MA, we have many years of experience handling issues such as bulging drywall, repairing holes or cracks left by drywall nails, hiding any drywall seam or tape, and more. You don’t have to tackle this project by yourself. We’re here for you.